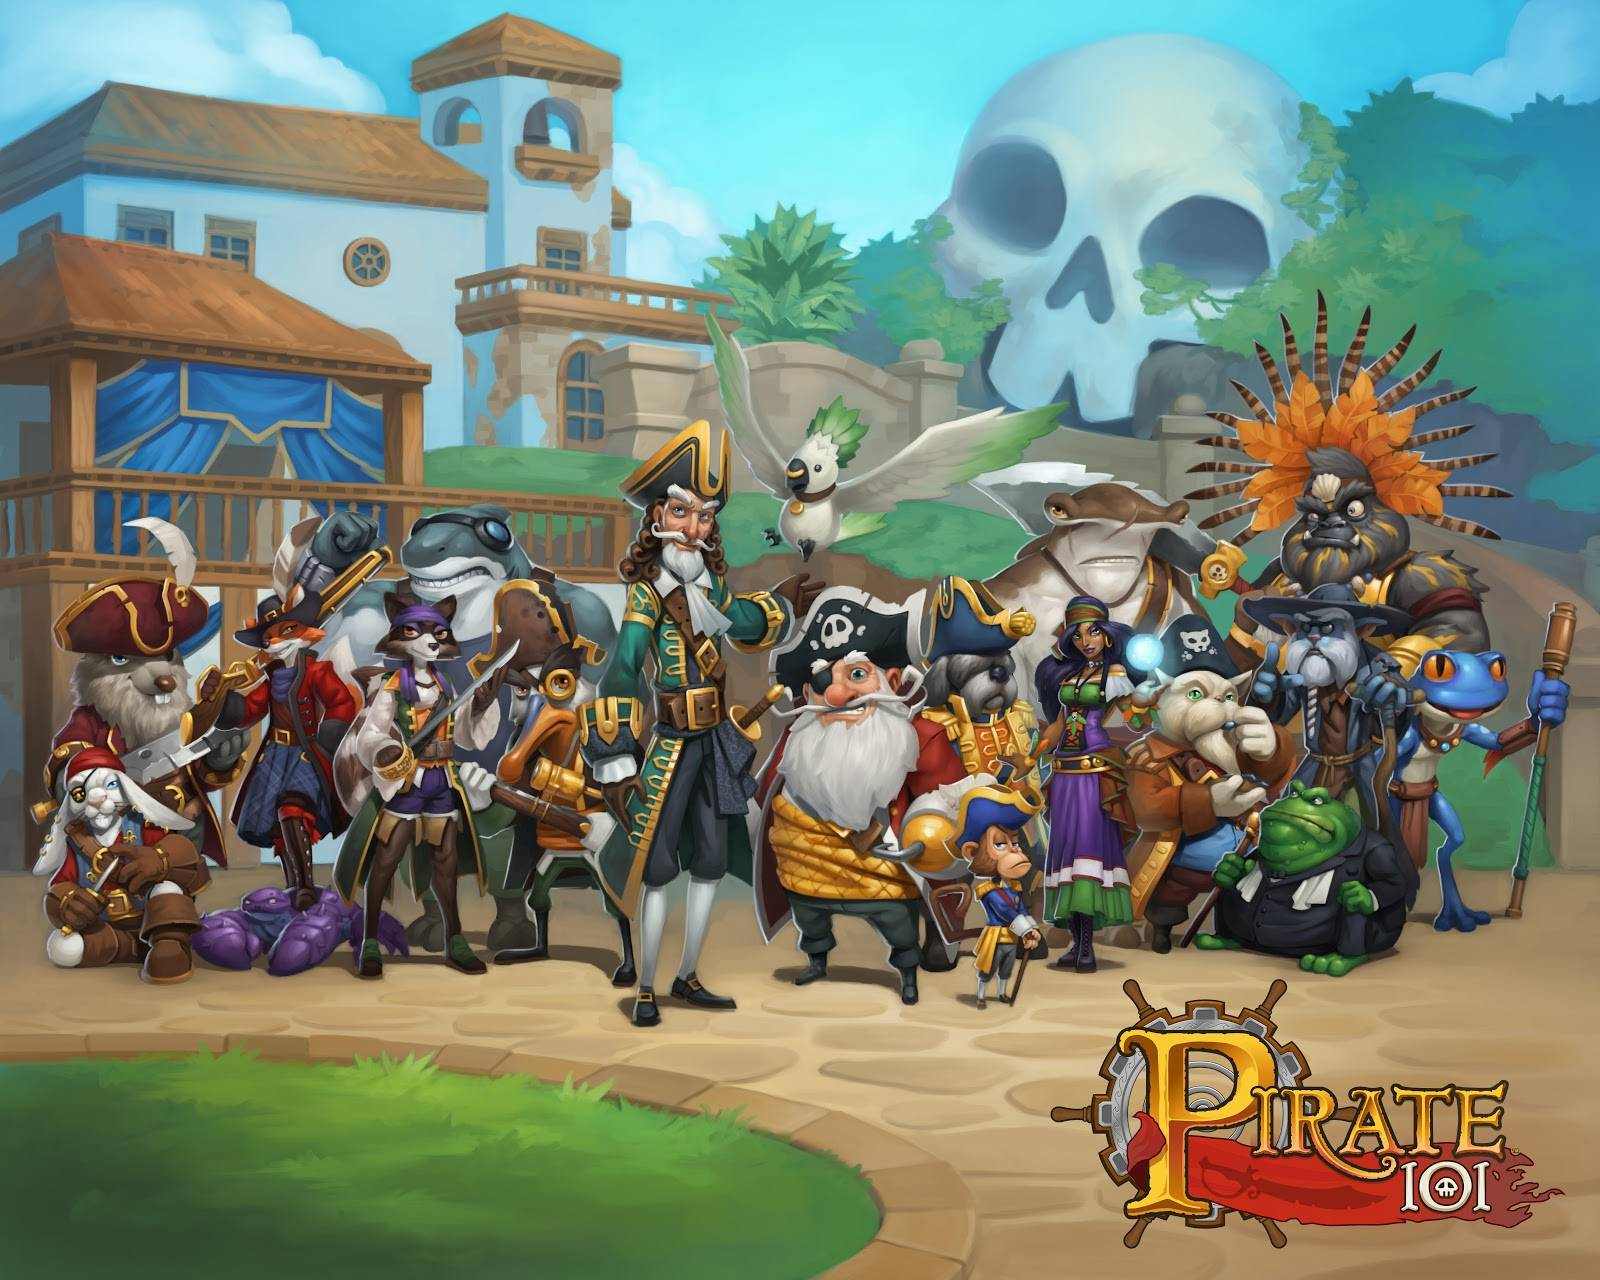
Looking at the image below, there are a hand full of heroic characters you can meet in Pirate 101. You can see these characters are all different from one another. Here we see multiple colored garments, all sorts of shapes and sizes, and different origins of humans, animals, creatures, and sometimes robots.
Not only they look different, they also act different as well. Some characters are Happy/Goofy, Mean/Arrogant, and Cool Personalities. Personalities can become interesting when they interact with one another.This is a wonderful environment, for an animator to explore ways to make their characters believable and appealing to an audience. We use our animation skills, to make them Walk, Talk, Fight, and interact with each other to tell a story. There are endless opportunities to explore and have fun doing it.
I would like to share with you a brief outline of my work flow, on how I bring these characters to life.
- Rig and Skin
- When a Character Artist creates a new character, typically they model them in a base pose, an A POSE or T Pose. This makes it easier for the animators to create a skeleton for that character. Just like how we have bones under our skin, our characters have them as well. They have multiple bones which control their arms, legs, spine, etc. Its Important for an animator to have a good sense of anatomy, to have a better understanding where to place each bone and joint. By having a movable character, we have the ability to create different poses for our animations.
- Video below you can see the both character and skeleton rig, how it is built proportionally to the character, and to see how the body moves when the bones move.
- Establish Character Pose
- Its important to create an appealing character pose, which several of the animations will start and end with that main pose. This makes it a smoother transition for our characters to do an action, then return to their Idle Animation of them breathing with in the main pose.
- Here are a few poses I came up with, for this character named Hawlkules. He is a strong arrogant character who loves to show off his strength. He loves his weapon and carries it with pride.


- I send these images off to my animation supervisor, to get feedback on which pose best fits this character's description. After we identify the pose we like, I create a breathing animation and to see how this pose comes to life.
- Animation
- Looking over Character Design
- Each character is well thought up by the writers and designers. They come up with different ideas on what this character is all about. And how he interacts with the world.
- The Video below has a Combat Attack idea, which shows the progression from Video Reference, Blocking Key Poses, Breaking down Poses, to Final Polish
- Research and Plan
- Before doing any sort of animation, I want to have a clear vision in my head of what the character is doing. Then I want to get those ideas out of my head and translate it to thumbnails or video reference. And by seeing my ideas, it gives me more information of what the character is doing, how's he doing it, and what's he thinking.
- My first preference is video reference, where I can easily capture ideas really quickly. And the more I do it, the more I discover my character, and find the essence of the action. For example in the video below, I wasn’t sure how heaver this weapon was, until I acted it out. I understood that it took some strength to pick the weapon back off the ground.
- Other times I will create thumbnails of a complex idea. And create a simple video of those thumbnails played in a sequence, this creates an animatic that I can use as reference.
- By planning out my shots, I am able to build the blue prints and start animating.
- First Pass - Key Poses
- I use method called Pose to Pose, which is one of the Principles of Animation. Creating Key Poses for a character then breaking it down with more in-between poses to support each Key Pose. The other method is called Straight Ahead, which is to create poses frame by frame.
- Key poses are key moments that clearly describes the physical action or emotional thought in a scene.
- This is my first pass, where I can focus on my staging, create solid pose that show key moments, work out anticipation poses, and find opportunists to exaggerate the character.
- Second Pass - Breakdown Poses
- Breakdown Poses are basically the in-between key poses that helps define the path of an action. This is where I can use some of the principles of animation to further support each key pose.
- Adjust the timing on how fast or slow the character gets from key to key, this shows the weight of a character.
- Have the body and limbs translate in arcs, which gives it a more natural movement. If I were working on a Mechanical Character I would do the opposite, and have the body and limbs translate in strait lines.
- Showing the weight shift of the character when it move from one side to the next. And how the feet carries the weight.
- Follow the laws of physics of movement. Where if a character or object comes to a stop, the body continues to “Follow Through.” Arms, Hair, Clothing will continue to move in different rates and “Overlap.” And when the character starts to move again, parts of the character will take time to catch up, which creates drag.”
- Final Pass - Polish
- Final Pass is where we have the opportunity to make our animations as good as it can be. Adding all those little details like breathing, eye blinks, stuff you dont think about, but it makes your animation feel natural.
- Smoothing out the poses, so it have a nice transition and check to see if I have an frames that pop.
- Go over all Principles and see what the animation needs to have to get the quality expected from me.
- Animate the fingers, shoulders, face, pretty much anything that is not already moving.
- Making sure the character's foot is rolling off the ground, and making contact with toes or heel when planting back to ground.
- Add in secondary actions to support the main action. These are the little movements that take place, and sometimes you don’t even notice them. My secondary actions in the video clip is the weapon roll when it comes in contact with the ground, and the recovery action where the character to first pull the object closer to him, before he lifts it off the ground.
- We can spend a long time polishing our animations, we can never be done. But unfortunately, there is always a due date. So we can only do our best to make our animations awesome.
Really great post, awesome read. Thanks for sharing!
ReplyDelete